Customizable Magnetic Headboard for Kids

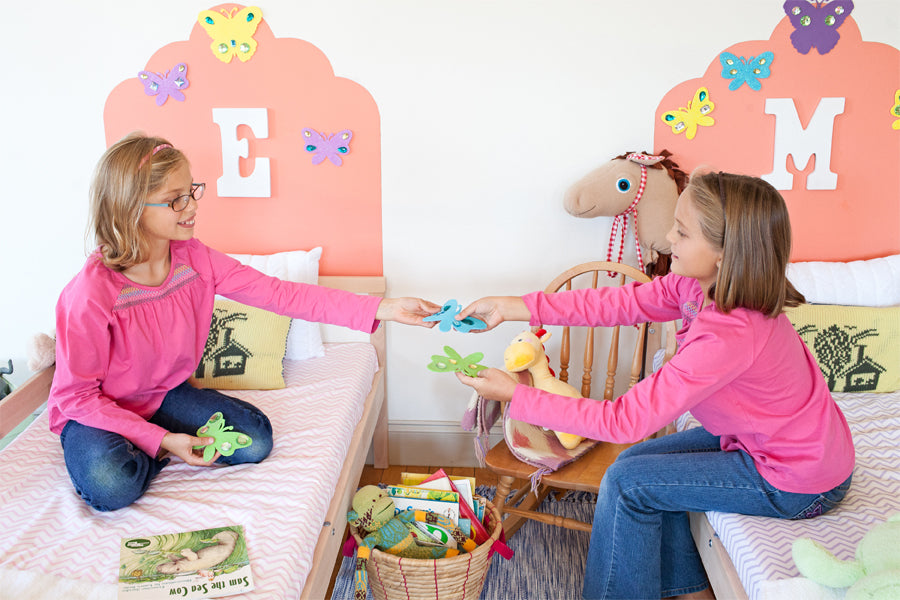
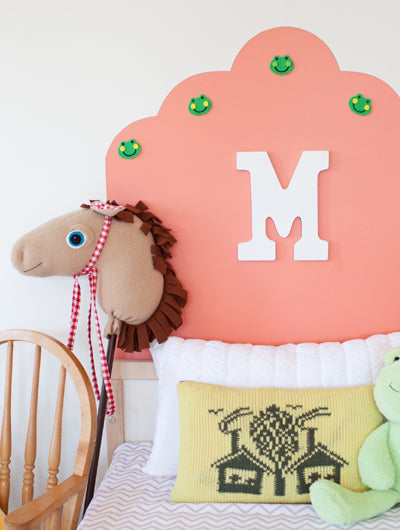
Work on this cute magnetic headboard project with your kids to create a unique design that can change with your kids as they grow. Use handmade, DIY accessories to add personality to each headboard and to delight and surprise your kids every day! In this project, we had double the fun creating mix and match headboards for two twin sisters, Mia and Emma. Don’t forget to send us pictures of your finished project so that we can add them to our Pinterest page!
GETTING STARTEDBefore you begin, make sure you have all the necessary tools and materials close by, and that any surfaces you’re planning to paint with MagnaMagic paints are smooth, and free of dirt and oil. Prep your workspace before you begin using a drop cloth to project your floors. If any paint spills or splatters, wash it off with soap and water while it’s still wet to ensure an easy clean up. Have fun! |
MATERIALSRoll of magnetic strip tapeAdhesive backed sheet magnetWooden or foam lettersLight foam and or felt accessories with a smooth back surface
|
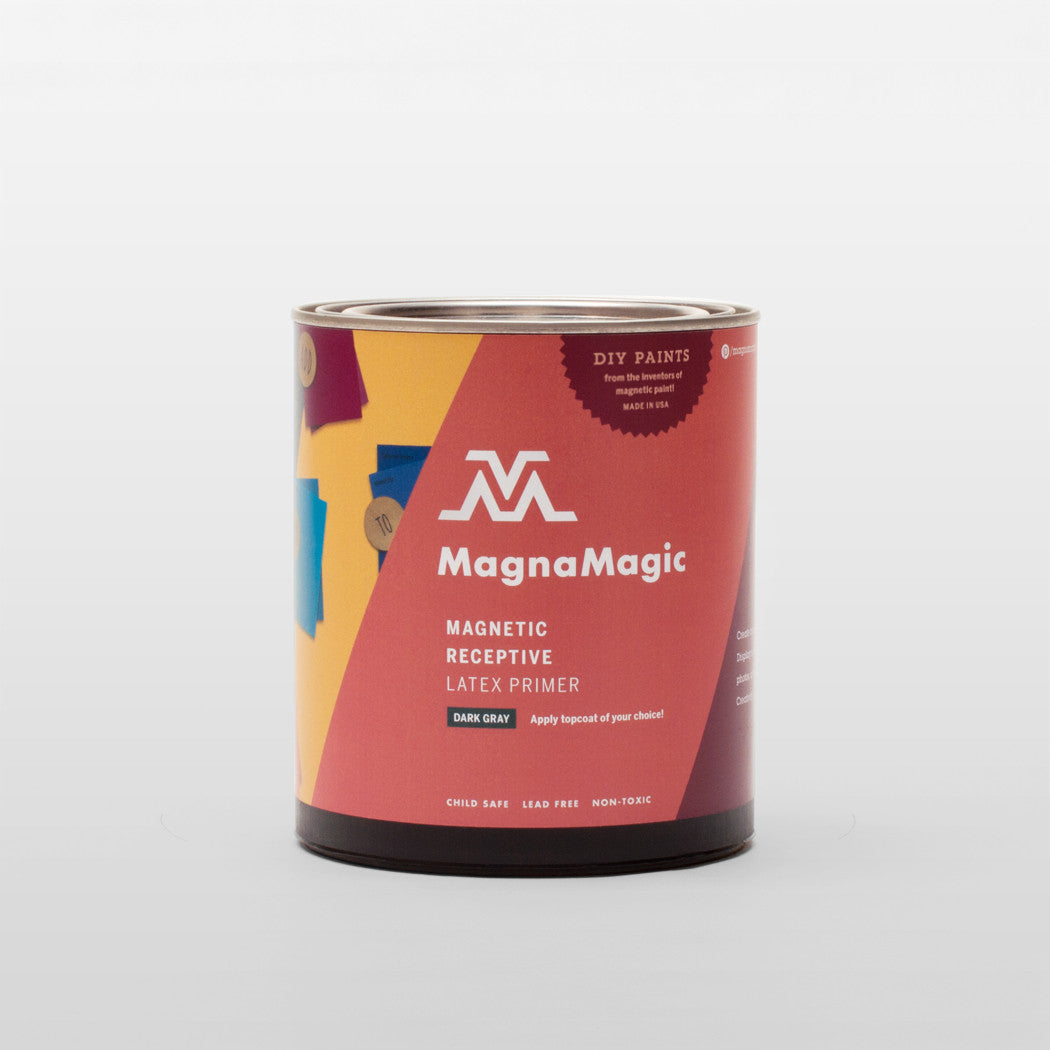
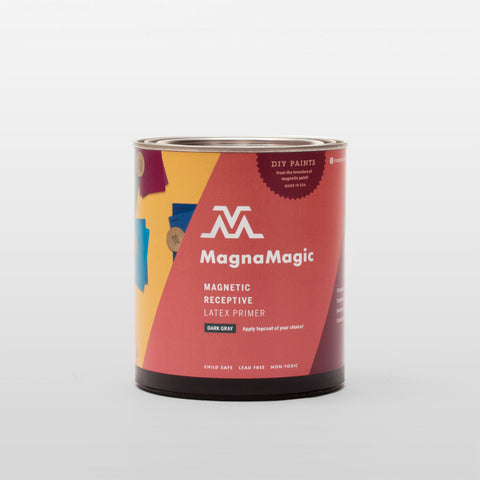
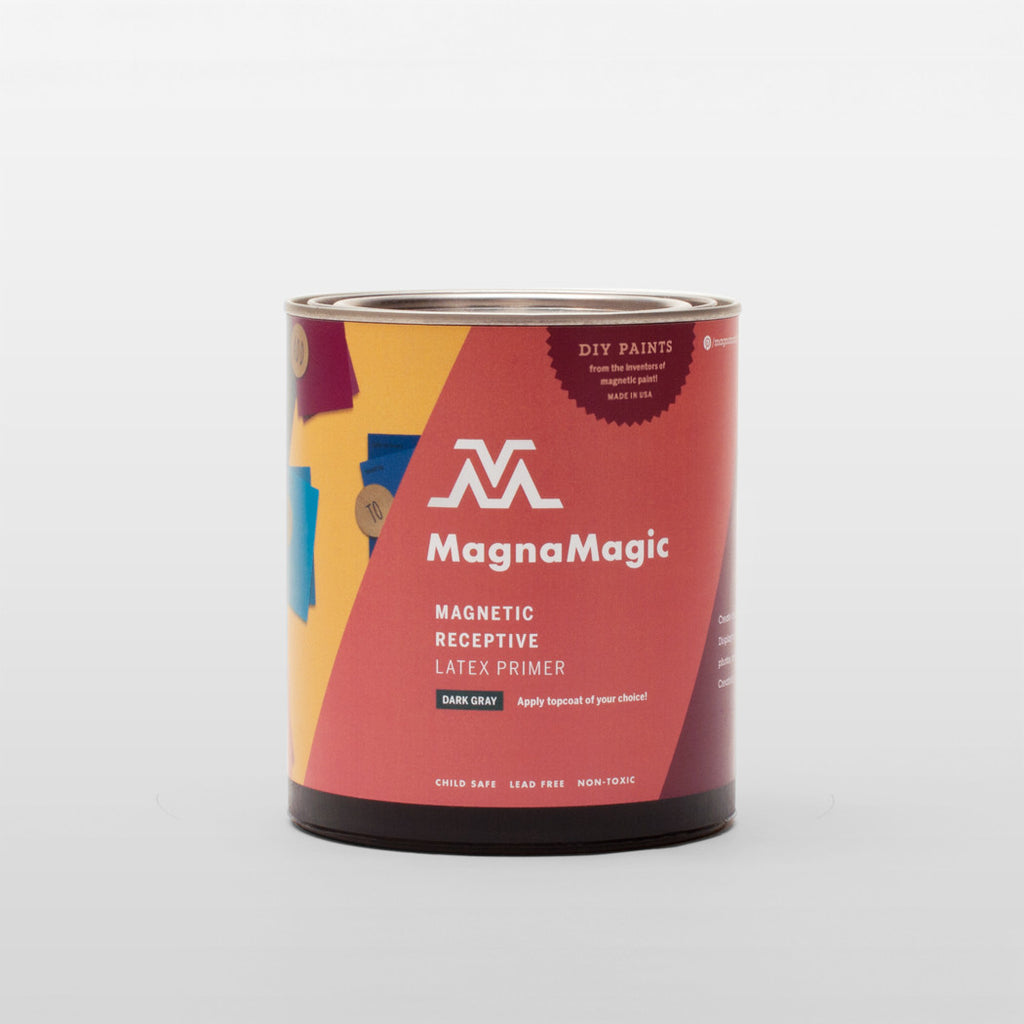
PAINTS1 quart of MagnaMagic® magnetic primer1 quart of any latex paint color |
TOOLS1 large roller handles2 small roller brushesLarge foam brushes2 large paint trays1 roll of 2” painters tape1 standard size paper plate1 extra large sheet of craft paper1 utility knifeProtective surface suitable for cutting onScissorsPencilRulerGlue gun with glue (optional)
|
STEP 1: MEASURE AND MARK HEADBOARD AREA ON WALLWhile the bed is still against the wall, use your pencil to make a mark about 1 inch from each outer edge of the bed frame. Once complete, move the bed away from the wall to provide sufficient space for painting.This project can be modified to work with an existing headboard by painting the entire headboard with MagnaMagic Magnetic Receptive Primer and a latex topcoat. Simply follow the steps that apply to your project and ensure that the headboard you are working with is smooth, clean and free of dirt and oil.
|
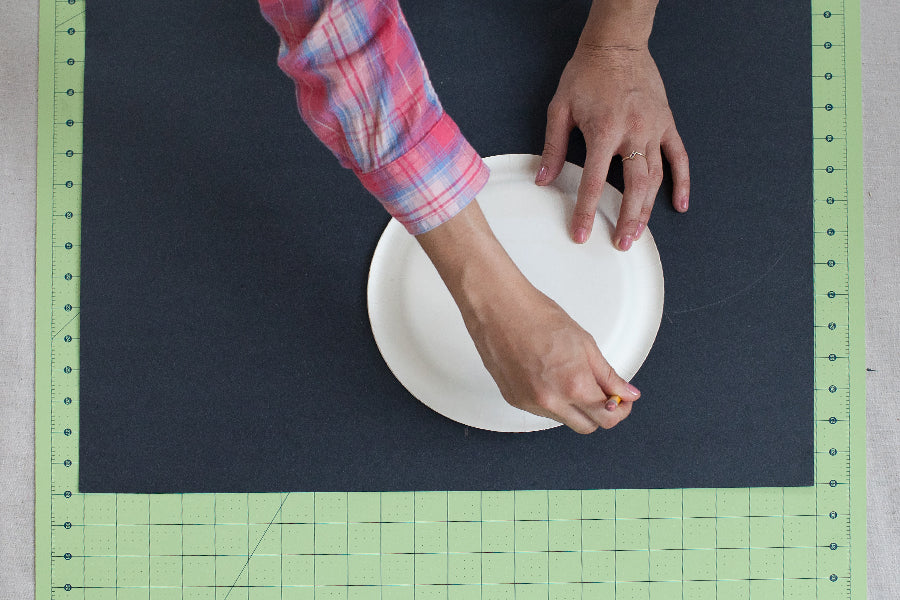
STEP 2: TRACE STENCIL FOR HEADBOARD SHAPEFor this project, we decided to create a scalloped edge headboard. To make the stencil for this headboard, we used a paper plate with a smooth edge to create an even, symmetrical curved design.It is only necessary to trace half of the headboard shape, since you will be using the same half flipped over for the second side of the headboard. To create the scalloped edge design, use the paper plate to trace two semi-circle shapes onto your piece of craft paper starting at the longest edge on the right hand side. Finish the last scallop at the top end of the craft paper.
|
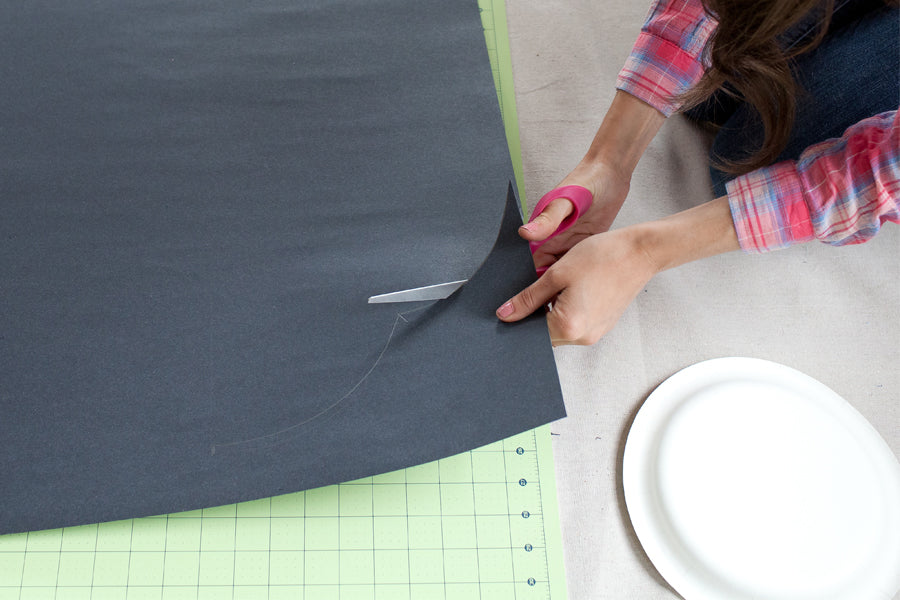
STEP 3: CUT STENCIL FOR HEADBOARD SHAPEUsing your scissors, cut out along the line you just traced. Once you reach the top end of the paper and the end of your pencil mark, cut straight down to the bottom end of the craft paper. You should now have a scalloped edge design that uses only half the piece of craft paper.
|
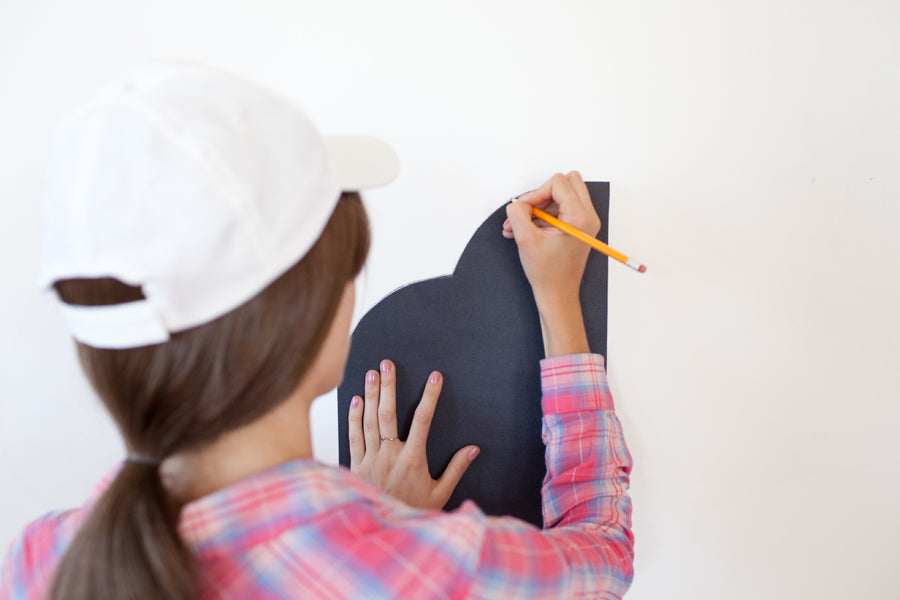
STEP 4: TRACE LEFT HALF OF HEADBOARD ONTO WALLLine up the edge of the stencil with the pencil mark that you created on the wall in Step 1. Position the paper stencil on the wall at your desired vertical headboard height. Hold firmly and trace around the edges of the stencil with a pencil. Stop when you reach the top of the stencil.
|
STEP 5: TRACE RIGHT HALF OF HEADBOARD ONTO WALLFlip the stencil over so that the design is mirrored and the outer edge of the craft paper stencil is touching the right hand side pencil line you drew on the wall in Step 1. Be sure that both sides are level and properly aligned. Trace the headboard shape onto the right side of the wall and expect there to be a gap between the two stencil tracings. This ensures that the painted headboard will be the same width as the bed.
|
STEP 6: DRAW A LINE TO CONNECT EACH SIDEUsing your ruler, draw a straight line to connect each side of the headboard shape that you just traced onto the wall.
|
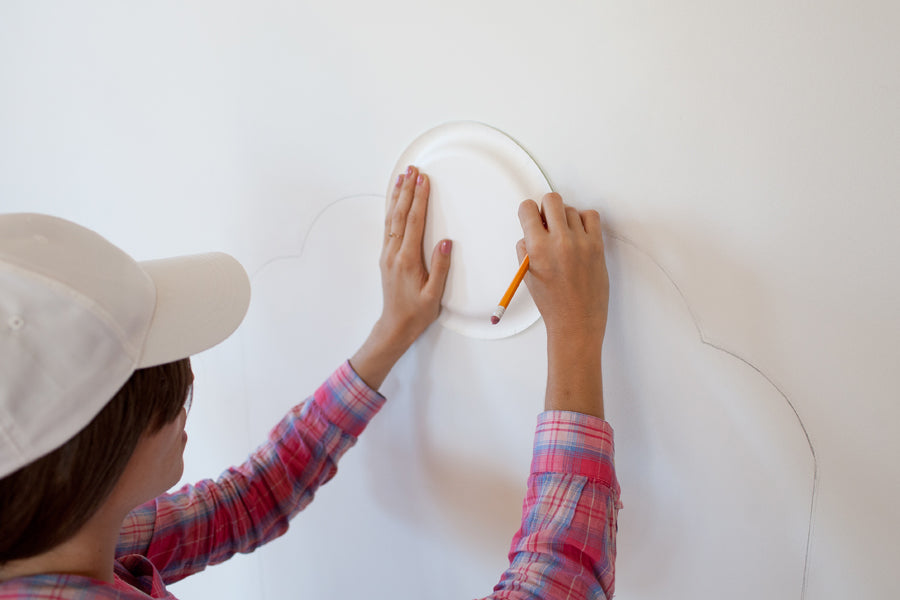
STEP 7: TRACE FINAL SCALLOP SHAPE AT TOPPosition your plate at the center of the line you just created. Depending on your desired shape, use anywhere from half to a third of the plate above the line to create the top scallop shape and trace with pencil. If you are doing a larger sized bed, add extra scallops on the top using a smaller portion of the plate to create a symmetrical design.
|
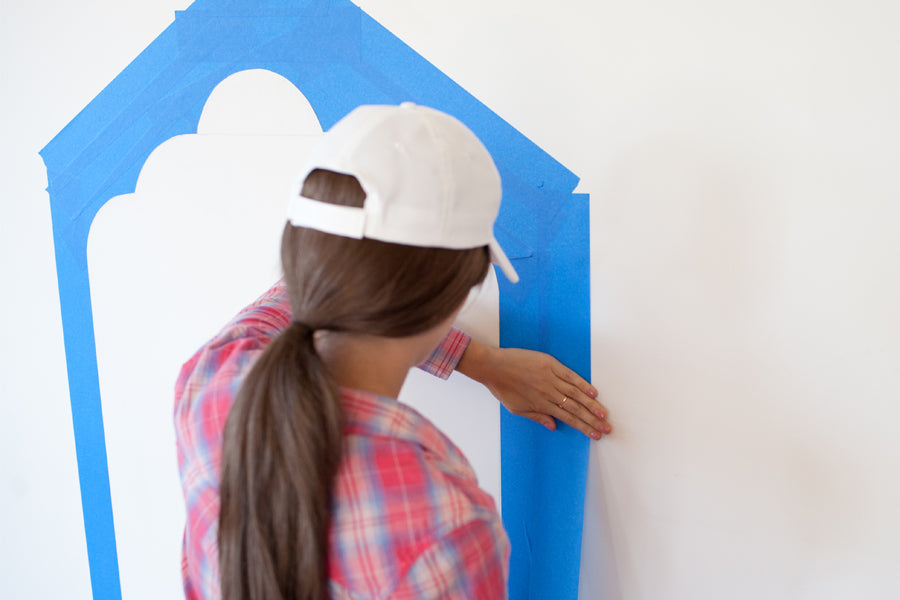
STEP 8: TAPE OFF TRACED SHAPEFirmly press your painter’s tape along the outside edges of your straight pencil lines (we’ll get to the curved scalloped edge lines later). Make sure to adhere the tape to the outside of the lines and follow the lines all the way down to the baseboard or floor. For the top scalloped section, it is important that you center the tape so that the pencil lines for these parts of the design are centered in the middle portion of the tape, unlike the straight lines (headboard sides), where you taped along the outer edge of your pencil line. You will need to use several smaller pieces of tape for the scalloped section, depending on the number of scallops in your design. We also suggest taping off your baseboard for a polished look. Once you are finished taping, the stencil should look the shape of a house on the wall.
|
STEP 9: RETRACE TOP SCALLOPED SHAPES ONTO PAINTERS TAPEIn order to ensure that when you cut the tape off the wall, you are following the correct design, you must retrace the scalloped sections on the painters tape. So, use your paper plate to retrace over each scallop with your pencil. Make sure that the beginning of the right and left scallop shapes are flush with the inside of the vertical straight lines of tape for a clean transition once you paint.
|
STEP 10: CUT ALONG SCALLOPED SECTIONSUsing your utility knife, carefully cut along the scalloped lines you just traced in the previous step.
|
STEP 11: REMOVE INTERIOR TAPECarefully peel off tape from the interior scallop shape. Take a step back and see the shape of your new headboard! If it needs some adjustment, it’s not too late to tweak it.
|
STEP 12: ADD MORE TAPE ON OUTSIDE EDGESTo protect the rest of the wall once you start painting, add an extra strip of painters tape to the outside edges. Make sure that you press down every edge of the tape securely so that paint will stay in the interior area only. This is technique is called ‘burnishing’ and is a very important part of achieving a perfectly finished wall when using painter’s tape.
|
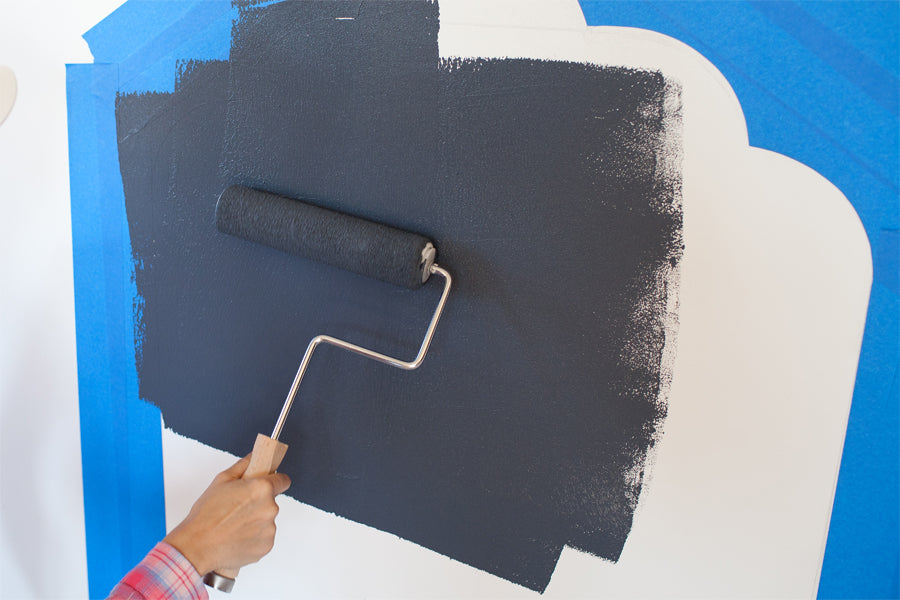
STEP 13: PAINT MAGNAMAGIC® MAGNETIC RECEPTIVE PRIMERThoroughly stir the paint until it is completely mixed using your stir stick. Pour a moderate amount of paint into your roller tray and apply a generous, even amount of paint to your roller.Start at one end of the headboard interior and roll up and down as you move across the surface of the taped off area. Do not overwork the paint as you are rolling it. Work with a quick, steady hand and paint small areas at a time to ensure correct application. It is important to get the painted surface as smooth as possible, so try to apply even pressure using a roller that has been evenly coated with paint.
|
STEP 14: PAINT TOPCOAT COLOROnce magnetic paint has dried completely (note that to completely cure the paint, you should allow to dry for 24 hours), apply a latex topcoat in the color of your choice using a clean roller brush and clean roller tray. Apply 1-2 coats depending on the desired look you want to achieve. |
STEP 15: APPLY MAGNET TO LETTERSWhile you are waiting for your last coat of paint to dry, get started on applying adhesive magnet to your letters and accessories. First, place the sheet magnet onto your work surface with the adhesive release liner facing up. Place the back of your wood or foam block letter on top of the sheet magnet and trace firmly. Once traced, cut out the sheet magnet to size and apply to the letter pressing down firmly to secure. Trim any over hanging magnet using your utility knife.
|
STEP 16: APPLY MAGNET TO ACESSORIESCut small sections off of the rolled magnetic tape and apply to the back of the accessories you have picked out. Depending on the size of the accessory you may want to add multiple pieces of magnetic tape. Also if the object you are working with is having trouble adhering to the magnet, you can add a drop of glue with your glue gun.
|
STEP 17: REMOVE TAPEOnce you have allowed your paint to cure completely, slowly and carefully remove the tape. For best results, let paint dry overnight before removing tape. Keep tape taught and pull evenly as you remove from the wall. Curve along with the edges of the painted area to avoid chipping off any paint. Once the tape is removed move the bed frame back into place.
|
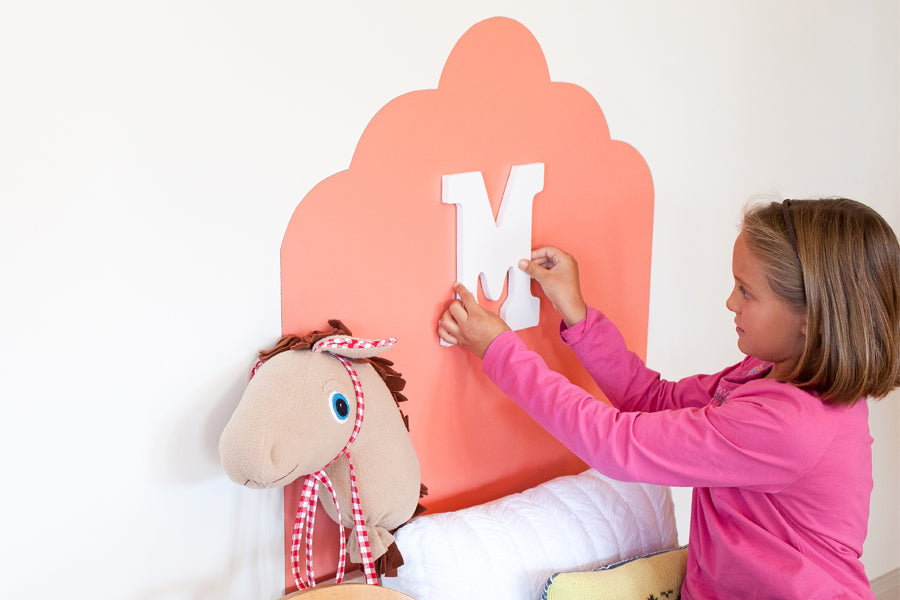
STEP 18: TURN IT OVER TO THE KIDS!Here’s where the real fun starts. Let your kids exercise their imagination and their inner interior decorator! For extra fun, surprise them with new magnetic accessories for holidays, special achievements and birthdays. This headboard is something that can keep growing with your kids as their taste changes - that’s the beauty of magnets!
|


















Stay Connected