Magnetic Paint Rotating Shadow Box

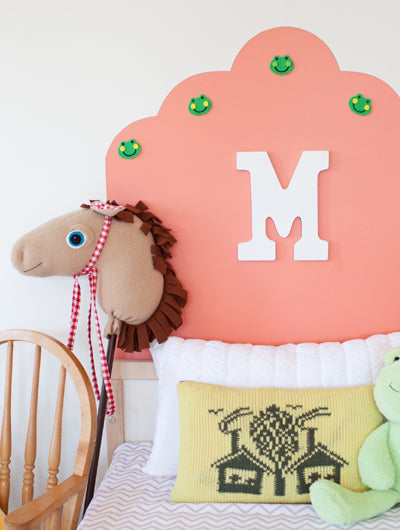
This changeable shadow box project is a fun way to display found objects like feathers, shells and leaves. Don’t want to use feathers, shells or leaves? Small vintage toys, gemstones and antique jewelry would all be stunning additions to your own shadowbox. The sky’s the limit, really! That’s what we love about magnetic paint. Don’t forget to send us pictures of your finished project so that we can add them to our Pinterest page.
Getting StartedBefore you begin, make sure you have all the necessary tools and materials close by, and that any surfaces you’re planning to paint with MagnaMagic paints are smooth, and free of dirt and oil. Prep your workspace before you begin using a drop cloth to project your work surface. If any paint spills or splatters, wash it off with soap and water while it’s still wet to ensure an easy clean up. Have fun! For full instructions visit How To Paint. |
MaterialsInset frame or shadow box with glass cover removedFeathersSea stonesDried starfishLarge neodymium magnets (not recommended for use by children)Small neodymium magnets (not recommended for use by children)
|

PAINTS1 quart of MagnaMagic Magnetic Receptive Primer1 quart of any latex paint color (we chose a light blue color)
|

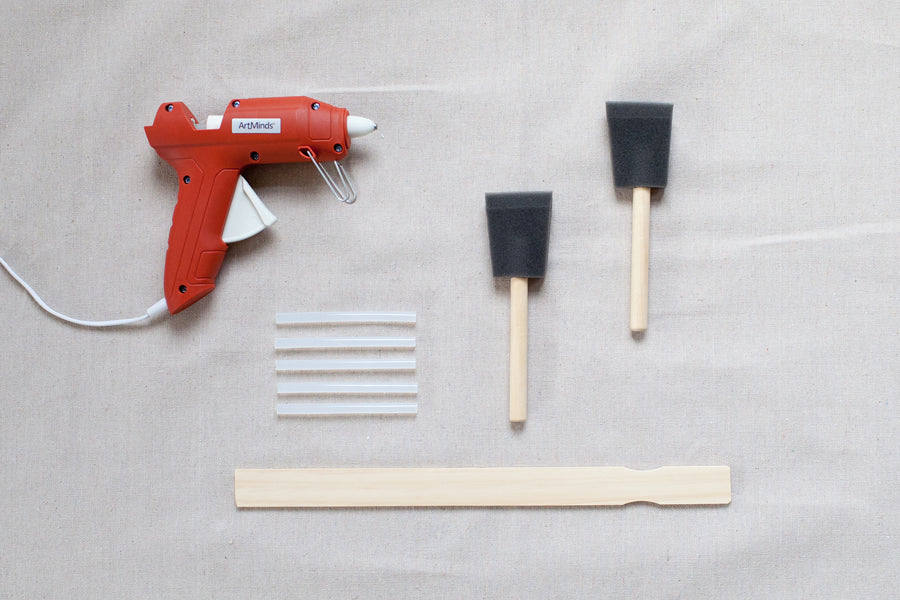
TOOLSSmall glue gunSmall glue sticksPaint stir sticks2 small foam brushes
|
STEP 1: REMOVE BACKBOARD FROM FRAMERemove the backboard of the frame or shadow box by lifting any clips or nails on the back of the frame and gently pulling the backboard away. Place the backboard down on your work surface and move the frame aside.
|

STEP 2: STIR PAINTOpen the can of paint and place it down on a flat, covered surface. Stir the paint using the stir stick until it becomes one consistent color and texture. This may take several stirs to achieve. Put the stir stick aside when you’ve finished stirring. Be careful of drips! |
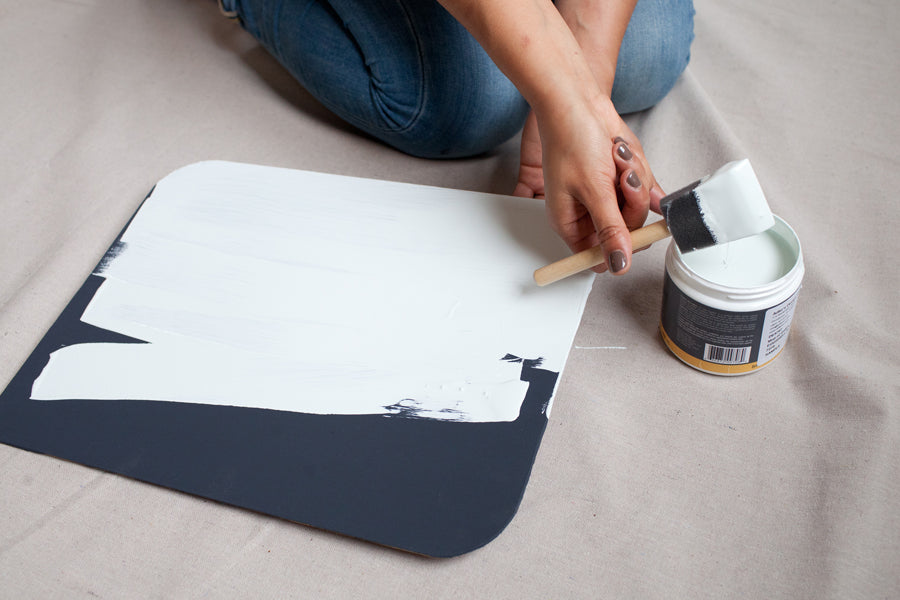
STEP 3: APPLY MAGNETIC PAINTDip one of your foam brushes into the magnetic paint until it is well saturated and begin painting your surface. First, paint in one direction going up and down across the entire surface of the backboard. Then, paint in the opposite direction, going from side to side across the entire surface. When the paint is wet, this should create a look similar to crosshatching. It is important to get the painted surface as smooth as possible, so try to apply even pressure using a roller that has been well coated with magnetic paint. For more detailed instructions on painting with magnetic paint, visit How-To guide.
|

STEP 4: FEATHER MAGNETIC PAINTOnce you have painted in both directions, do not dip the foam brush back into the paint, instead use the dry brush to gently smooth out the painted surface. This technique is called ‘feathering.’ To feather, lightly drag a dry foam brush in one direction across the surface of the board.
|

STEP 5: LET DRY AND APPLY TWO MORE COATSWait for your paint to dry and repeat steps three and four until you’ve achieved three full coats of magnetic paint. |
STEP 6: APPLY TOP COAT. LET DRY.Once your magnetic paint base is dry, apply your top coat color until your backboard surface is evenly painted and you have achieved your desired number of top coats.
|
STEP 7: PREPARE YOUR SHADOWBOX OBJECTS.While your top coat dries, prepare the objects you’ll be showcasing in your shadowbox. Using your glue gun, apply small dots of glue to the back of each object and press a neodymium magnet into the glue while it is still hot. For our project, we used feathers, starfish and pieces of shell. We carefully glued one small neodymium magnet to the center of each feather, on the feather’s boning. Be sure to only use a small spot of glue and try not to get any excess glue elsewhere on the feather. On each small starfish we glued three neodymium magnets to the ends of three of the starfish arms. On the large starfish we did the same, except we used large neodymium magnets. On the seashell pieces, we glued on small neodymium magnet to each piece. Perfecto!
|


STEP 8: PLACE BACKBOARD INTO FRAME. HANG FRAME ON WALL.Once your backboard is fully dry, place it back inside the frame and secure it using the clips or nails. Next, hang the frame on a wall like you normally would. |
STEP 9: ARRANGE OBJECTS INSIDE SHADOWBOX. SMILE.Grab your shadow box objects and carefully arrange them on your board. For our board, we placed the feathers in one arrangement of the shadowbox and used the sea life items for another arrangement of the shadowbox. Ah, la vie est belle! Don’t forget to send us your shadowbox project pictures so that we can share what you’ve created with the world. |
STEP 10: CHANGE IT UPThe beauty of magnetism is transformation. Keep your creation fresh by adding magnets to new objects that inspire and placing them into your magnetic shadow box.
|


Stay Connected