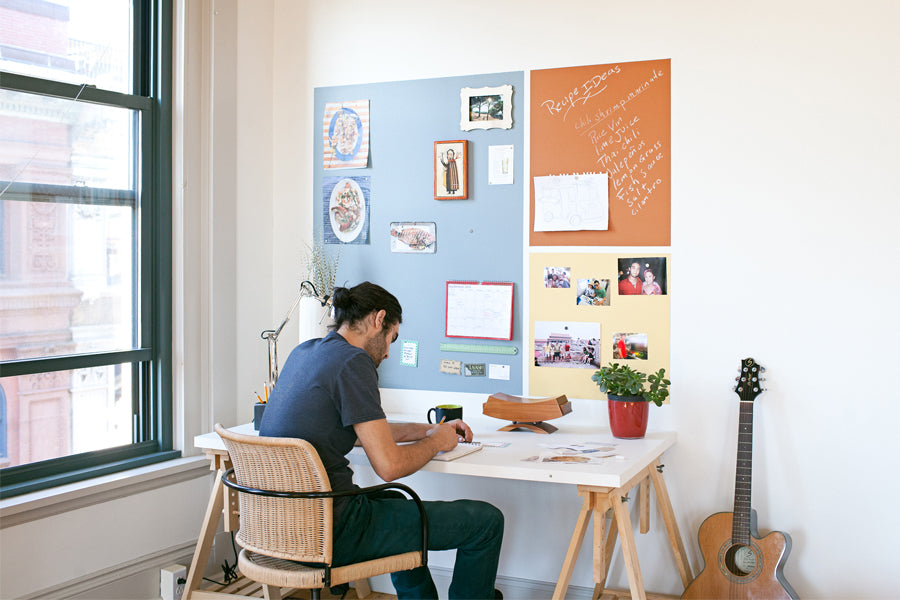
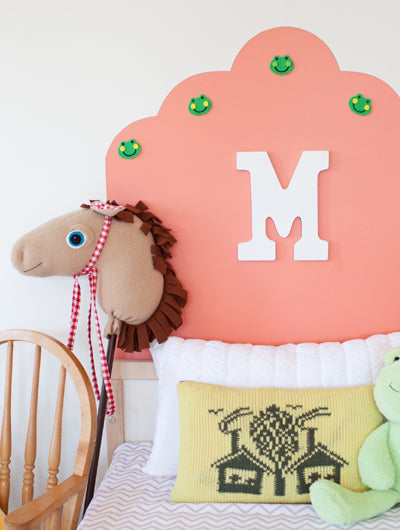
Magnetic Paint Tricolor Bulletin Board

Get organized with this minimalist and modern update to your old above-the desk corkboard. This easy magnetic paint project will turn a wall in your home office space into sleek tricolor bulletin board that can be tailored to your personal style. Three separate magnetic sections help you keep your notes organized and tintable chalkboard accents mean that you can have a writeable surface that also matches your room’s palette. Photos, notes, cards, calendars and even things like rulers and pens can be put up on the wall with magnets, keeping your desk space uncluttered and freeing up space for work. Don’t forget to send us pictures of your finished project so that we can add them to our Pinterest page!
GETTING STARTEDBefore you begin, make sure you have all the necessary tools and materials close by, and that any surfaces you’re planning to paint with MagnaMagic paints are smooth, and free of dirt and oil. Prep your workspace before you begin using a drop cloth to project your work surface. If any paint spills or splatters, wash it off with soap and water while it’s still wet to ensure an easy clean up. Have fun! |
MATERIALSRoll of magnetic strip tapeSelection of accent magnets (see our post on recommended magnets)Office accessoriesInspiring knickknacks & clippingsChalk (we recommend Prang brand for best results)
|

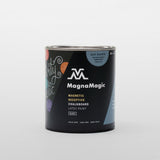
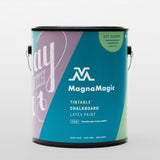
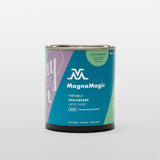
PAINTS1 quart of MagnaMagic® Magnetic Receptive Primer1 quart of MagnaMagic® Tintable Chalkboard Paint*3 quarts of any latex paint in a complementary palette of 3 colors.*Prior to beginning your project, bring your MagnaMagic® Tintable Chalkboard Paint to your local paint store to be pre-tinted with a latex paint from your color palette. For pastel colors, be sure to add a white base. For more information, please see our How To Paint Guide.
|


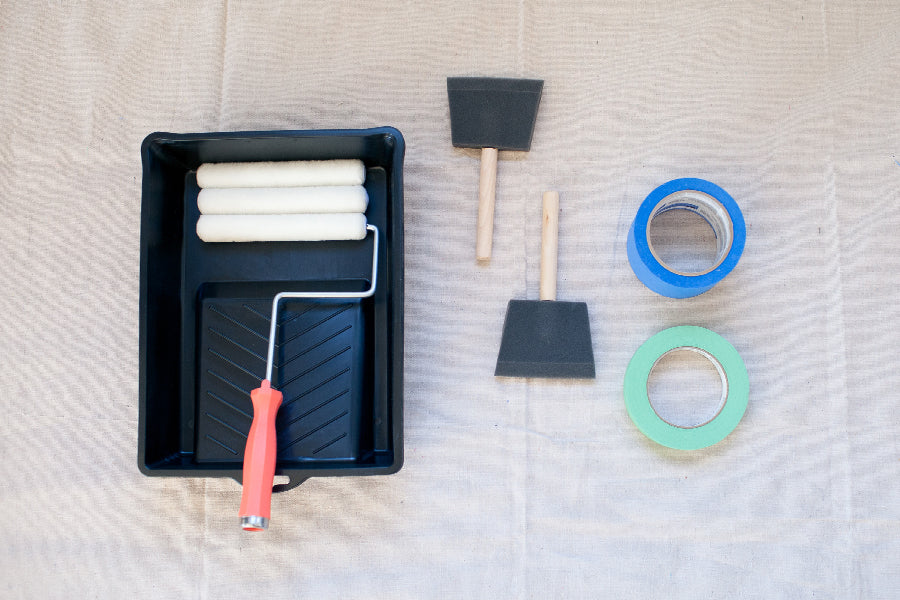
TOOLS4 small roller brushes1-4 small roller handle2 large foam brushes4 large paint trays1 roll of 2” painters tape1 roll of 1” painters tapeScissorsPaint stir sticks
|
STEP 1: PLAN BULLETIN BOARD ON WALL USING PENCILMark off general area where you want your painted bulletin board to begin and end. We suggest making a pencil mark 4-5 inches above where the desktop begins and another two pencil marks on the inside edges of the desk. Finally, create a pencil mark 2.5-3 feet up from the desk. When you tape the desk off, these marks will be your guide to creating a gridded design that works with the placement of your desk. Once you have marked off the general area you have planned for your design move the desk away from the wall.
|

STEP 2: TAPE OFF SECTIONS OF THE WALLUsing the 2-inch wide painters tape, tape off the outside border of the bulletin board using the pencil lines you created in the last step as a guide. You can use a level to check that your taped lines are straight. In the interior area, use the thinner, 1” tape to create the defining lines for each section off the interior that you wish to be a unique color or application. For our design, we created one long rectangular section on the left and split the right hand side of the bulletin board into two small square sections. Again, you can use a level to ensure your lines are straight. Make sure to burnish the tape by rubbing your hand back and forth across the tape surface. This will ensure that the tape forms a seal with the wall for perfect edges when you remove the tape later.
|

STEP 3: PAINT ALL THREE BULLETIN BOARD SECTIONS WITH MAGNAMAGIC® MAGNETIC RECEPTIVE PRIMERThoroughly stir the paint until it is completely mixed using your stir stick. Pour a moderate amount of paint into one of your roller trays and apply a generous, even amount of paint to your roller.Start at one end of the larger bulletin board section and roll up and down as you move across the surface of the taped off area. Do not overwork the paint as you are rolling it. Work with a quick, steady hand and paint small areas at a time to ensure correct application. It is important to get the painted surface as smooth as possible, so try to apply even pressure using a roller that has been evenly coated with paint. Try not to dilly-dally! MagnaMagic® dries fast and you will need to complete the next step while the paint is still wet.
|

STEP 4: USE FOAM BRUSH TO SMOOTHImmediately after you have finished rolling the area, go over the wet paint using a wide dry foam brush. This technique is called ‘feathering.’ To feather, lightly drag a dry foam brush in one direction across the surface of the painted headboard. Feathering will create a smoother appearance.Once you have finished feathering the first section, repeat the painting process on the smaller two square sections of your bulletin board. Be sure to feather immediately after rolling these areas too.When the paint is dry to the touch, approximately 30 minutes later, you can apply the next coat of paint. For this project, we applied 3 coats of magnetic receptive paint. We recommend using 1 gallon per 100 square feet or 1 quart per 25 square feet.
|

STEP 5: APPLY TOPCOAT COLOR TO LARGEST SECTIONOnce magnetic paint has dried completely (note that to completely cure the paint, you should allow to dry for 24 hours), apply a latex topcoat to the large bulletin board section in the color of your choice using a clean roller brush and clean roller tray. Apply 1-2 coats depending on the desired look you want to achieve. For our look we used a clean but neutral blue grey.
|

STEP 6: APPLY MAGNAMAGIC® TINTABLE CHALKBOARD PAINT TO ONE OF THE SMALLER SECTIONSFor our bulletin board design, we chose to paint one of the sections with MagnaMagic® Tintable Chalkboard Paint. We tinted the clear-based paint at a local paint store. We chose a creamy toasted orange color to complement the other two colors on the board, but you can tint this paint any color you like for a chalkboard surface that’s more vibrant than traditional black.Use your paint stir sticks to stir the tintable chalkboard paint until it is completely mixed and appears to be one consistent color (no marbled appearance). Use a roller to paint the tintable chalkboard section. Apply a generous, even amount of paint to your roller using a roller tray. Start at one end of the square, rolling up and down as you move across the surface of the wall. Again, do not overwork the paint as you are rolling it. Work with a quick, steady hand and paint small areas at a time to ensure correct application. It is important to get the painted surface as smooth as possible, so try to apply even pressure using a roller that has been evenly coated with paint.
|

STEP 7: USE A FOAM BRUSH TO SMOOTH MAGNAMAGIC® TINTABLE CHALKBOARD PAINTImmediately after you have finished rolling the area, feather the wet paint using a wide dry foam brush like you did when you applied the MagnaMagic Magnetic Receptive Primer. |
STEP 8: APPLY TOPCOAT COLOR TO LAST SECTIONApply your latex topcoat to the last bulletin board section in the color of your choice using a clean roller brush and clean roller tray. Apply 1-2 coats depending on the desired look you want to achieve. For our look, we used a soft butter yellow position on the bottom right hand corner of the bulletin board.
|

STEP 9: REMOVE TAPEOnce you have allowed your paint to dry completely on the wall, slowly and carefully remove the tape. While you pull tape off the wall, keep it taught and pull straight and evenly to avoid chipping off any edges. Once the tape is removed move the desk back into place against the wall.
|

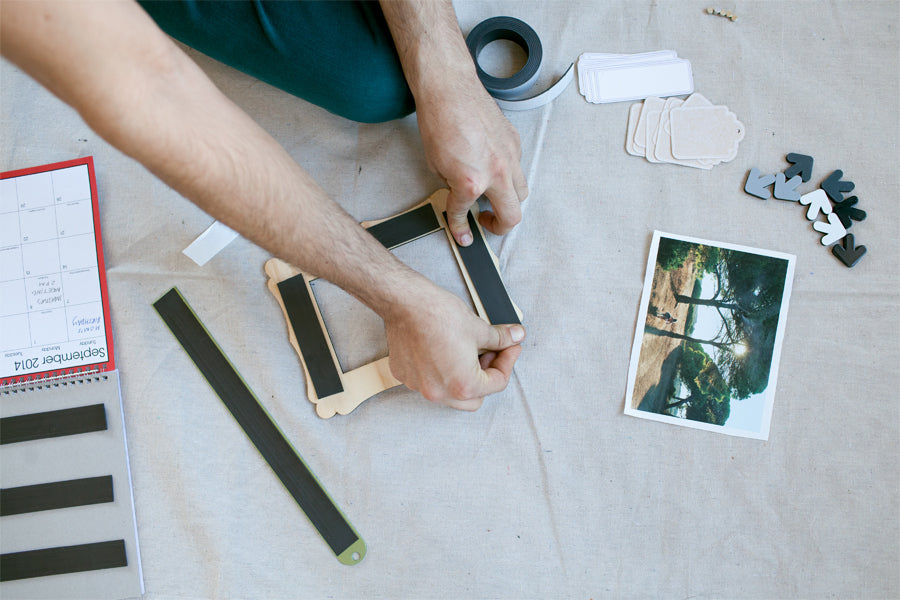
STEP 10: APPLY MAGNET TO DESK ACESSORIESCut small sections off of the rolled magnetic tape and apply firmly to the back objects that would like to stick to the wall. Depending on the size of the object you may want to add multiple pieces of magnetic tape. To ensure that the magnet will affix fully to the object, press the magnet down firmly and rub back and forth.
|

STEP 11: ORGANIZE YOUR MAGNETIC BULLETIN BOARDNow that the project is complete, you have a whole new surface area to use to your organizational advantage. Add objects, cards, notes and images that inspire you. Use your new tinted chalkboard to keep your daily to-dos in order. Now, get to work!
|


Stay Connected